Growing your own high-quality, organic mushrooms is pretty simple. We’re going to show you a bit about the process by which we put together the logs which we currently have for sale. Enjoy!
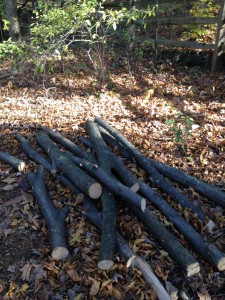
First of all, you need wood. The best logs for Shiitake mushrooms are oak. It’s best to use wood that has been cut very recently, so you can avoid contamination from unwanted fungi. For our logs, we used an oak that came down during Superstorm Sandy.
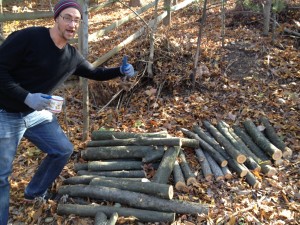
Logs that are between 3 and 5 inches in diameter are best because they allow for good inoculation throughout the entire log. You also want to allow for a length of between about 2.5-5 feet. This keeps the logs in a manageable size while still allowing for maximum production.
At this point, you’re ready to start inoculating the logs.
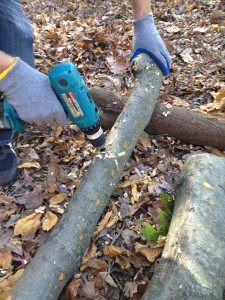
You want to drill holes throughout the log about 6 inches apart lengthwise, and then alternate rows so that you get a decent amount of spawn throughout the log.
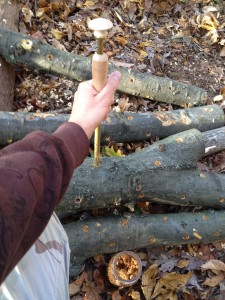
Next, you insert mushroom spawn into the drilled holes. We used hardwood sawdust that had been inoculated with Shiitake spawn from a local source. We use a neat little tool that injects the sawdust & spawn into the holes and really jam-packs it in there.
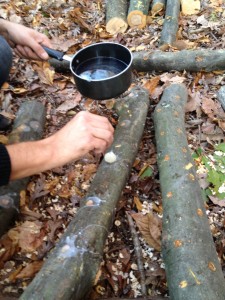
Then, you seal the spawn-filled holes with cheese wax. This prevents the inoculated sawdust from spilling out, and protects the wounds on the log from being contaminated by unwanted fungi and bacteria.
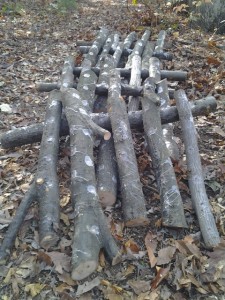
Voila!!! Done! The logs are now ready to be stacked for storage. It will take about a year for the spawn to fully grow throughout the log and start producing mushrooms. Once fruiting begins, you can stimulate heavy production by soaking the log in water for about 24 hours and then setting it upright in a shady spot.
There you have it! If you are interested in purchasing inoculated logs from us, please visit our Plants for Sale page for more information!

